What is cPanel:
CPanel is the most widely used administration system for web hosts. It provides a very easy-to-use graphical interface and makes everything from creating new databases to uploading files extremely easy.
Let's take a look at how easy it is to setup a new Wordpress blog using cPanel.
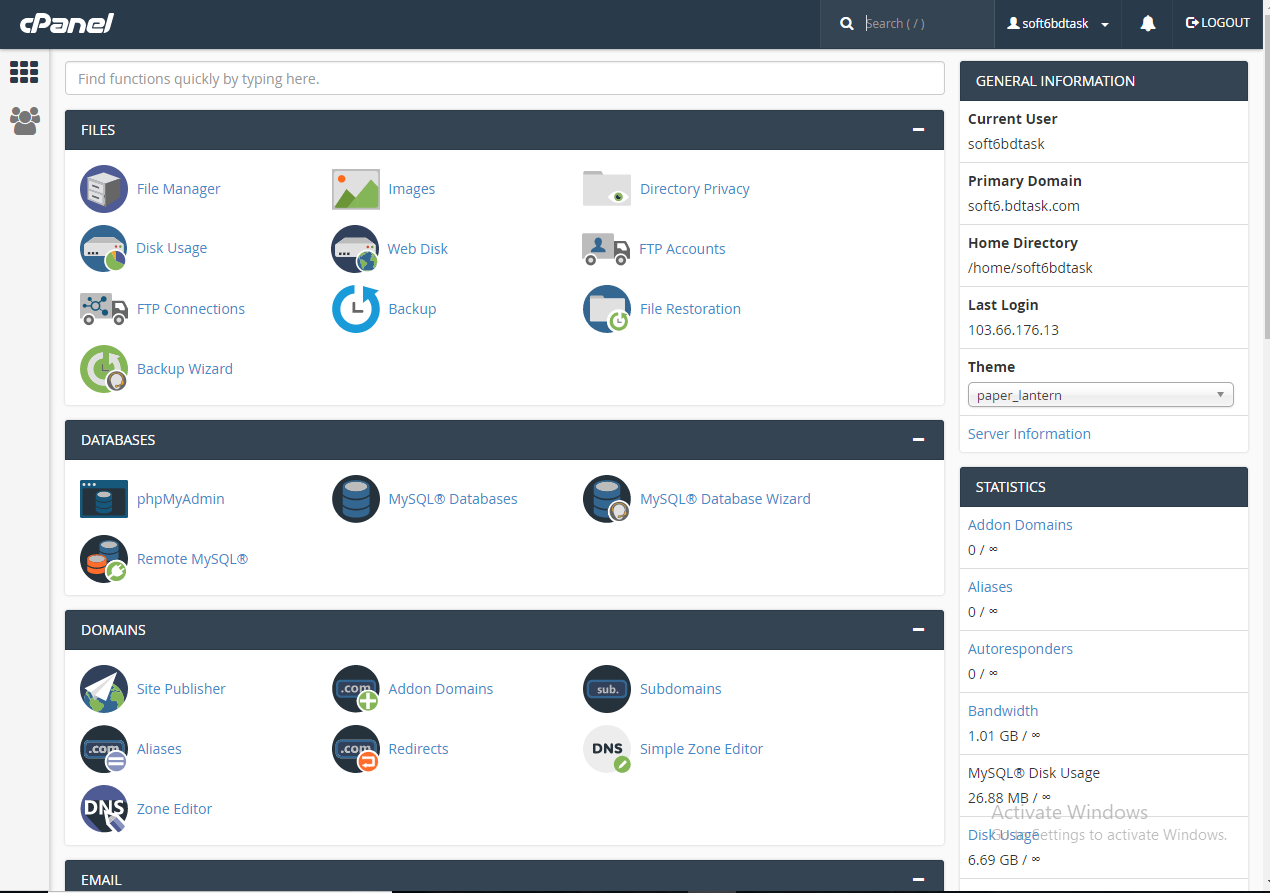
This is cPanel Screenshot
When you Click Login Button than Show This Page. This is Your main Part of the cPanel.
Creating A Database
First we will set up our database and database user.
Login to your cPanel account, find the Databases panel, and click MySQL Databases.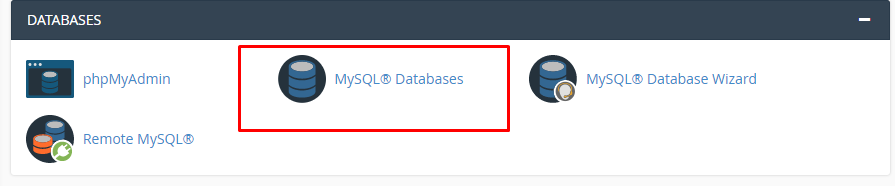
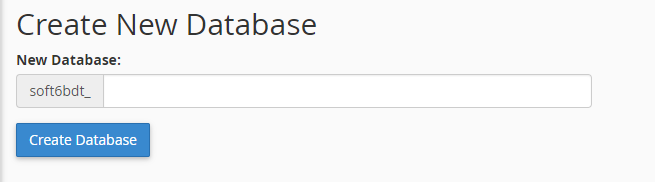
With shared hosting accounts, there will be a prefix before the actual database name you create. You will need to know this for later.
After the database is created, you will be taken to a confirmation page. Click the Go Back button to return to the main databases page.
Time Taken: 30 Seconds
Creating A MySQL User
Scroll down to the MySQL Users section. Again you will see the same prefix as your database name.
Enter a username and password for your database user and click Create User.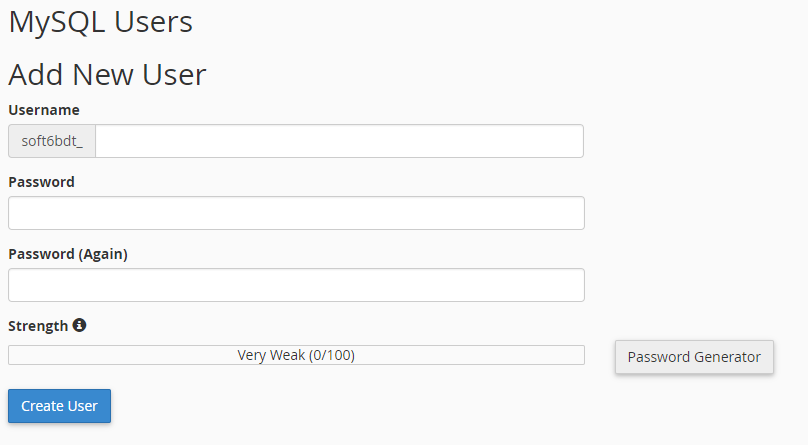
After the user is created, you will be taken to a confirmation page. Click the Go Back button to return to the main databases page.
Time Taken: 30 Seconds
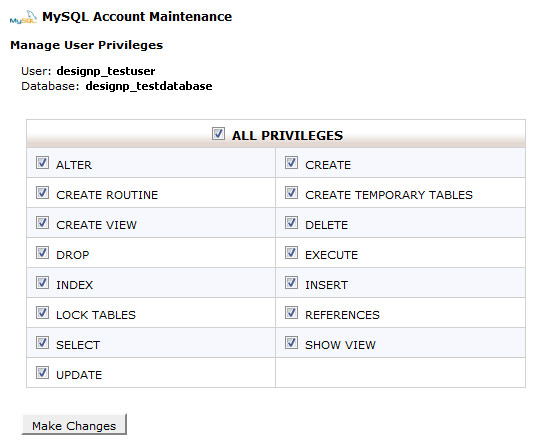
Adding A User to Your Database
Now that you have created your database and user, you have to give the user permission to use the database.
Under the Add User to Databse section, choose your user from the User dropdown, and your database from the Database dropdown and click Add.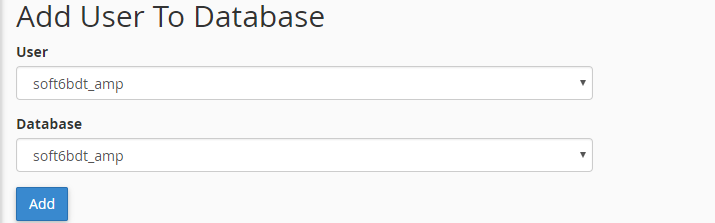
Our database is now ready for Wordpress to be installed.
Time Taken: 30 Seconds
Downloading Wordpress
Visit the official Wordpress download page here to download and save the latest version of Wordpress as a .ZIP file.

If you are installing WordPress to the main domain name on your hosting account, use the instructions directly below. If you are installing Wordpress to a subdomain or addon domain, use the second set of instructions below.
ZIP File Setup for Main Domain
Unzip the file you just downloaded. You will now have a folder named "wordpress", with the Wordpress files/folders inside.
Open the main "wordpress" folder, select everything inside, and create a new .ZIP file so that the files/folders are no longer inside the main "wordpress" folder.
If you are unable to create a new .ZIP file, you can use the original one you downloaded, but you will have to move the files once you unzip them onto the server.
ZIP File Setup for Subdomain or Addon Domain
Open the Wordpress .ZIP file. Rename the main "wordpress" folder to the name of your website, in all lowercase letters, and with no spaces (hyphens are OK if you really want to use them).
You don't need to unzip the entire file to do this. Most archiving software will allow to simply open the .ZIP file, right click the "wordpress" folder, and rename it to whatever you want.
Time Taken: 30 Seconds
Uploading and Extracting Your Files
Go back to the main page in your cPanel account, and click File Manager under the Files panel to open the cPanel File Manager in a new window.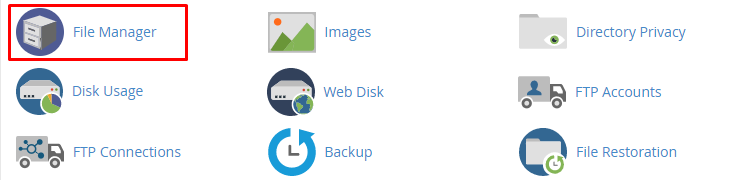
Click the Upload button in the top toolbar to open the file uploader in a new window.

Browse to your .ZIP file and click Open. You will see an upload status bar in the bottom right corner.

Once your file has finished uploading, close the file uploader window. Click the Reload button to refresh the file list in the File Manager.
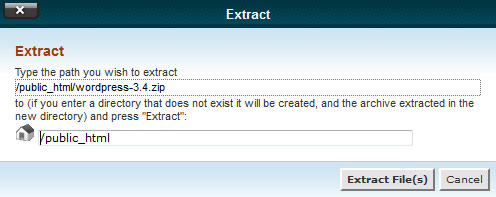
Find the .ZIP file you just uploaded, click to select it, and click the Extract button in the top toolbar.
Extract the contents of the .ZIP file into /public_html. If you are installing Wordpress to your main domain, then the files/folders wp-admin, wp-content, wp-includes, etc. should all be located directly in /public_html.
If you are installing Wordpress to a subdomain or addon domain, the files/folders should be under /public_html/websitename, with the subdomain or addon domain pointing to that folder.
The hard part is over, now on to the actual website!
Running the Wordpress Install
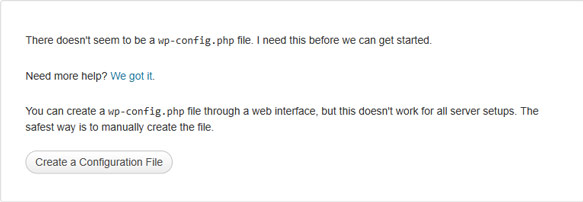
Visit www.yourdomain.com and you will see the following screen. Click Create a Configuration File.
Next you will see the Wordpress list of what you need. Click Let's go!

Enter the Database Name of the database we creatved earlier. Make sure you include your database prefix, for example, we created the database "testdatabase", but it had a prefix of "designp_" so we enter "designp_testdatabase".
Do the same for the User Name, again, including the prefix.
Enter the password for your User.
Unless you know what you are doing, leave the Database Host and Table Prefix at their default settings.
Click Submit.

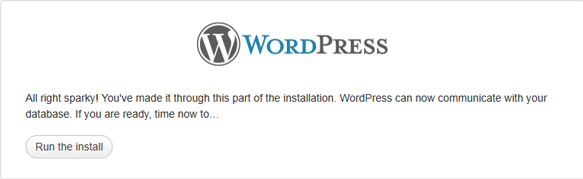
You will see a confirmation screen telling you that all the information you entered was valid. If you get an error, go back and make sure you typed everything in correctly.
Click Run the Install.
Fill in the requested information for your website and administrator login and click Install Wordpress.

Wordpress is now installed!
Click the Log In button to log in to the Dashboard, or visit www.yourdomain.com to see your new Wordpress installation!

Time Taken: 60 Seconds
I know, it might have taken you longer than 5 minutes to install your first time around, but after setting up a few websites, you will be able to do it all in well under 5 minutes.